
This article shows how to install the MB GPW WWII Rear Seat Tire Pump bracket and weld stud.


|
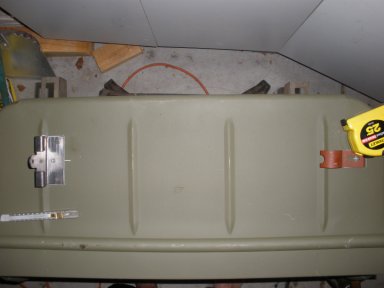
1. Many times a jeep project will need to have the rear seat pan replaced due to rust or damage. After the Seat Pan is installed the Tire Pump Bracket and weld stud need to be installed as well. |
|
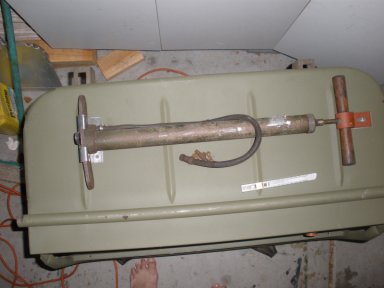
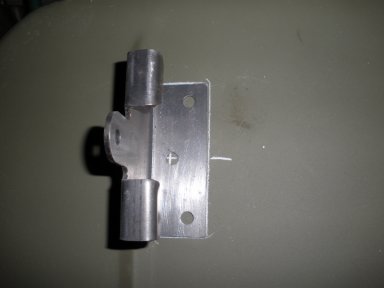
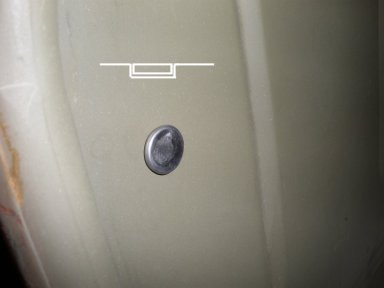
2. Here you see the tire pump layout for the rear seat. The tire pump bracket and the handle retainer need to be purchased as well as a 5/16-18 1" weld stud in order to complete the project |
|
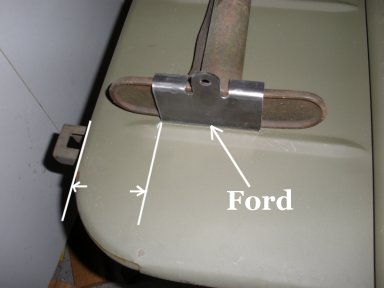
3. The placement of the bracket on a ford is found on the inside of the rib, and about 3 inches from the top of the seat. For exact dimensions request a drawing from jeepdraw.. The center of this bracket shown will line up with the weld stud on the pan. |
|
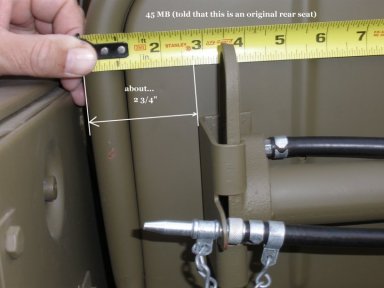
4. An MB, the bracket is closer to the left edge, we measured about 2 3/4" from the edge. Again, for exact dimensions request a drawing from jeepdraw.. |
|
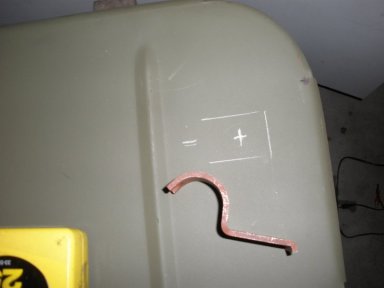
5. When you have the pump bracket lined up in the correct position, make some markings around the bracket as you will prepare the surface for welding, so you will want to know where to line it up again and you want to line the center hole up with where the weld stud will be placed. |
|
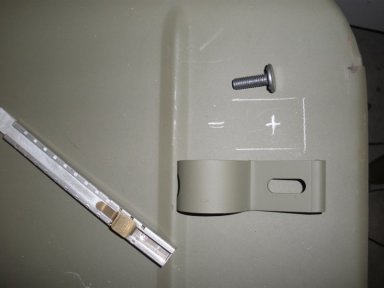
6. Next you will line the hole up for the handle retainer, measuring about 4 7/8" from the top and about 2 7/8" in. For exact dimensions request a drawing from jeepdraw.. This line should line up with the middle hole of the bracket at the other end of the pan. |
|
7. Here you see the handle retainer was primed and painted in preparation, and the 5/16-18 x 1" weld stud that will be installed in this position. |
|
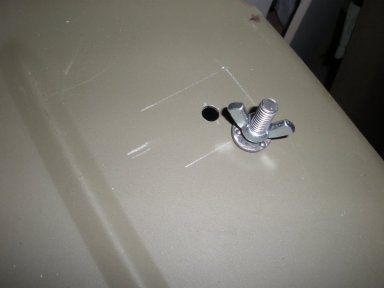
8. After drilling the hole, I found a wing nut that will be used on the stud once it is put in place. |
|
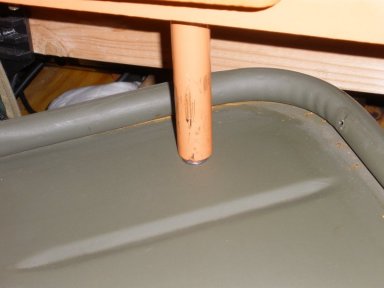
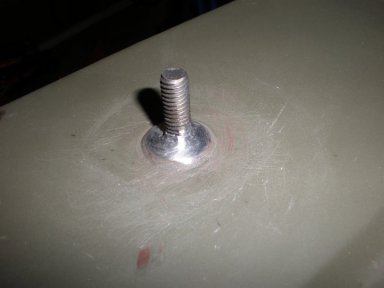
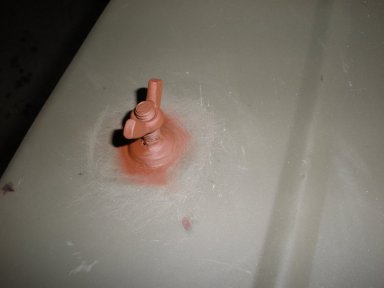
9. Here you see the weld stud is just pushed into place, but the weld stud needs to be pressed into place as they are with original seats. |
|
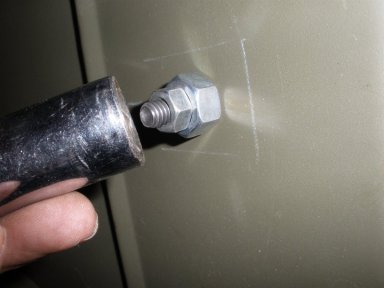
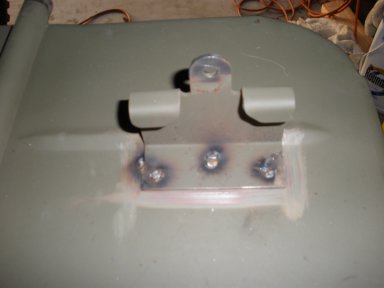
10. With the weld stud in place, I found a 5/8" nut and a 5/16" nut to hold the weld stud in place in preparation to press it in. I used a 5/8" socket to support the pressing of the weld stud underneath the pan. |
|
11. Now press the weld stud down so it sits flush on the pan. Note: the socket is under the pan to give it support so you don't dent the pan up. |
|
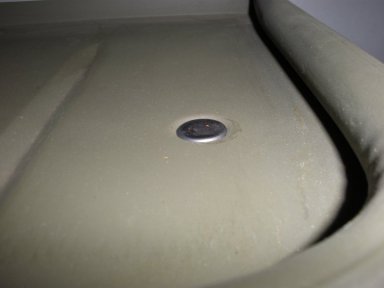
12. Nice, the weld stud is in position, and looks good and flush on the seat pan. |
|
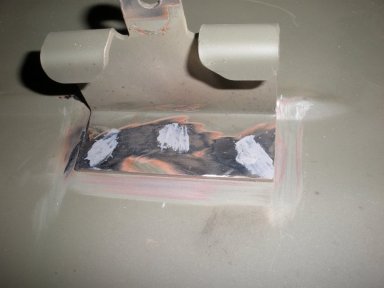
13. Next, prep the bracket for welding by removing the paint in the areas you will be welding. In this case, I cleaned the spot weld areas, and a small area on the side of the bracket for a little extra support. |

|
14. After the welding is complete, I grind the welds down to the bracket. |
|
15. Next, before I paint, there are a couple small pin holes from the welds that I fill in with a little JB weld. After that dries, sand it off and it is ready for primer and painting. |
|
16. Back over at the weld stud I welded around the stud base, and cleaned up the welds and prepared it for painting. |
|
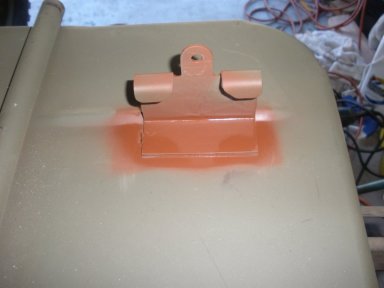
17. I covered the chair except for the area I was going to primer for the rear bracket, that way, you can use an areosol can to finish painting the bracket and have it match right up. |
|
18. Same thing with the weld stud, cover the seat, except for the area that needs to be painted. |
|
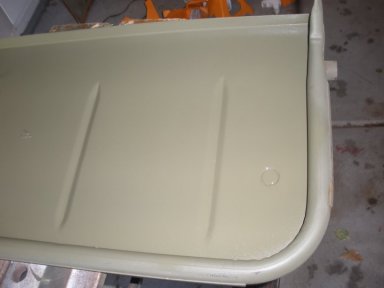
19. Flipping the chair over, I paint the weld stud top and it looks good. |

|
20. Now both weld stud and bracket is installed and painted and looks good. I gave it a couple days to dry, then test it out. |

|
21. Perfect! The tire pump fits perfect into its position and it looks terrific with a nice original tire pump. Hope this helps! |
