
This article describes how you can test your WWII Jeep engine rebuild without having the whole restoration back together. Applies to 1942,42,1943,43,1944,44,1945 Jeeps models


|
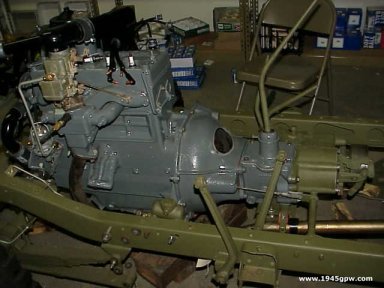
1. The first start of your newly rebuilt engine is an exciting milestone with your restore project. Assuming that you are ready to fire the engine up, here are some steps you can take to make this happen. |
|
2. Lets confirm the connections that must be completed before the engine can be fired up |

|
3. Oil Filter added and top sealed and connect lines to engine |
|
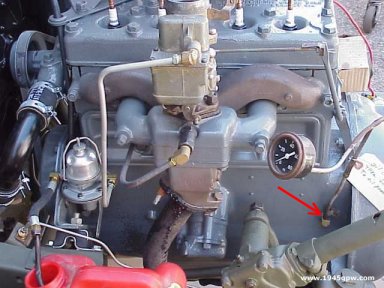
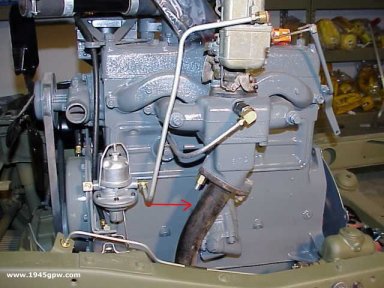
4. Connect temporary Oil Gauge and line to block |
|
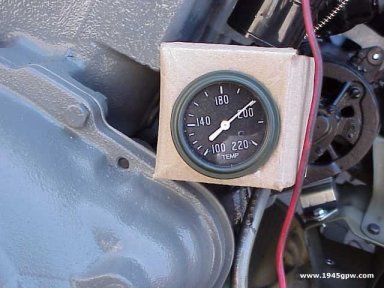
5. Connect temporary Temperature Gauge to Engine Head |
|
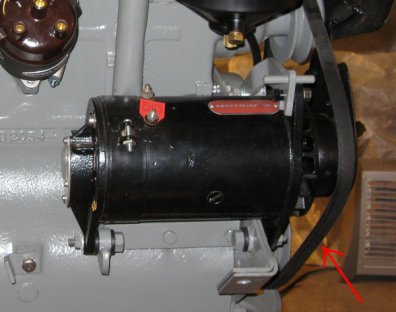
6. Connect Fan belt to generator |
|
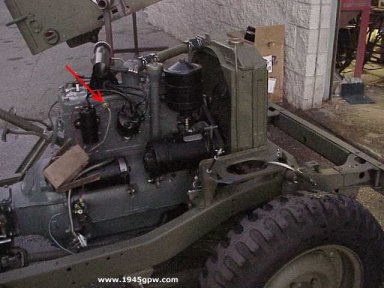
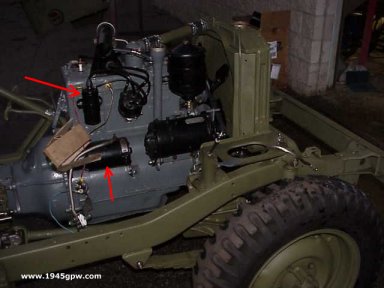
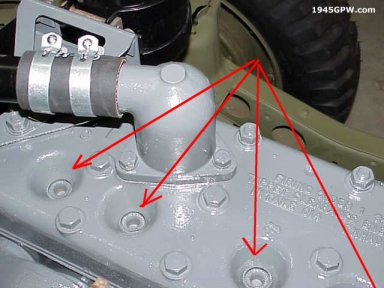
7. Connect Coil to block |
|
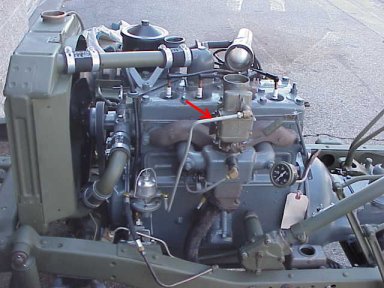
8. Connect Fuel pump to Carburetor (and carburetor should be on manifold) |
|
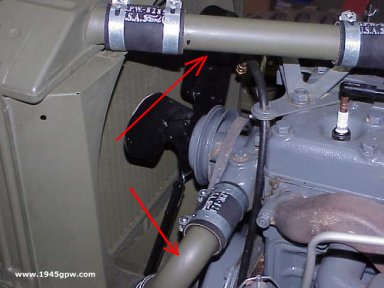
9. Connect Exhaust pipe to manifold, and pipe to muffler. The pipe will get very hot quickly so be sure you have all the connections mounted |
|
10. drop a little 30wt oil into each cylinder, about ½ teaspoon, then crank engine manually to get the cylinder walls lubed. Temporarily install Spark plugs gapped to .030 |
|
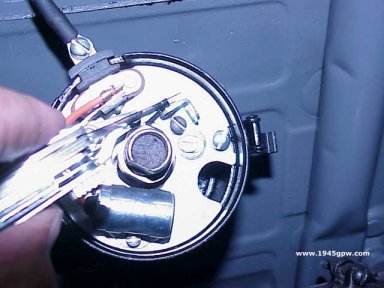
11. Set the dwell on distributor points to .020 and attach the spark plug wires 1-3-4-2 order, also connect the coil wire to distributor cap. |
|
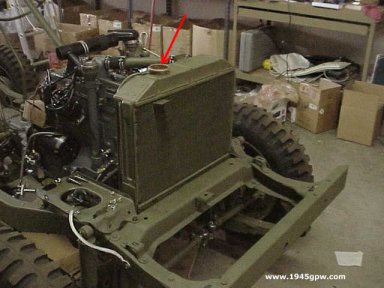
12. fill Radiator fluid into radiator, place on radiator cap and look for leaks. Tighten any needed connections |
|
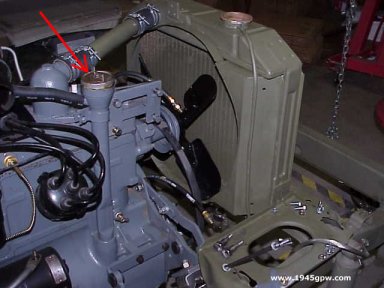
13. Add 30wt oil into filler tube, check level. Note: when engine starts it will fill the oil filler canister after about 3-4 minutes. Thus, when you shut engine off, check level again. |
|
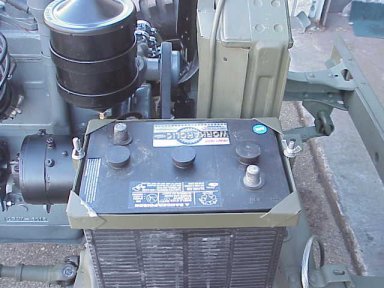
14. Install Battery on battery tray and connected the ground wire to frame |

|
15. Final Wiring Connections |
|
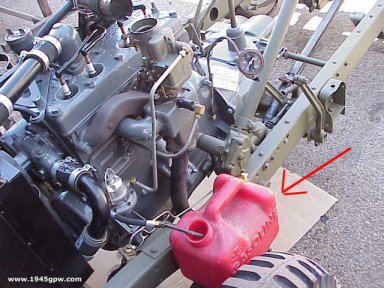
16. Connect fuel pump to temporary Fuel supply make sure your tubing is submerged in fuel. Prime the fuel pump, listen for fuel into the carburetor. |
|
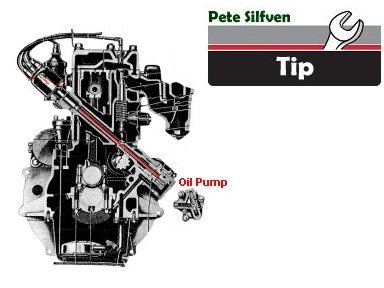
17. Prime the Oil Pump Pete Silfven recommends to prime the oil pump by removing the sparkplugs (and ignition key OFF) to turn over the engine a few times. You want to see the oil pressure on the gauge start to rise. Upon validation, continue. |

|
18. Before the initial CRANK! Pete also suggests - be sure you have a fire extinguisher handy and a damp rag in case there's a small carb fire. Use the rag to smother it if possible, the extnguishers make a mess |

|
19. Your now ready to turn engine over by turning the ignition key ON, and pressing the Foot Starter. BE CAREFUL not to touch posts on the foot starter or you will get a nice zap shock. You may need to check your carburetor settings if the engine starts and then dies (won't hold the idle) |
|
20. Once your engine is running it will sound like music to your ears, but you want to watch the Oil pressure and the Temperature gauge. If your temp goes beyond 220 then stop and check your cooling system. Your Oil gauge should idle at around 40psi. |
