
This article shows how to Install G503 WWII Jeep Radiator Felt around your grill


|
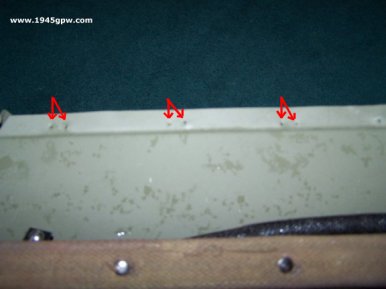
1. My impression of installing radiator felt was much different that what the actual effort needed. I thought simple, push staples through felt and clamp down. I also thought I could do this with the grill on the frame. Wrong. You will need, large pliers, Needle nose pliers, and an Ice pick or nail. Unless you have a repo grill, your staple holes should be present on your grill. |
|
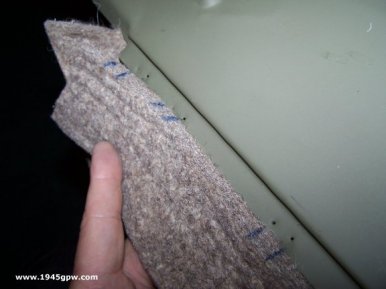
2. Since the felt does not have predrilled holes you will need to line up your pieces and mark where your holes should line up. My guess is that every jeep is different, so you will need to mark each hole as shown. |
|
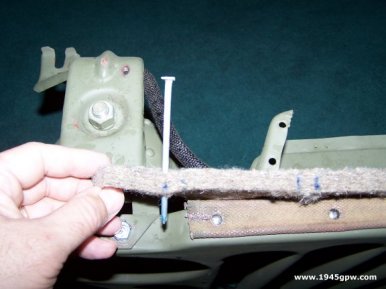
3. You can use an Ice pick or a long nail to poke holes into the felt. I didn't have an ice pick, so I used a large nail and pushed the nail through. Lay the felt up on the grill and see where it should align with the markings and place your nail on that spot and push through. Make sure you have it lined up straight across the grill shroud. The felt is really think so this takes some doing. |
|
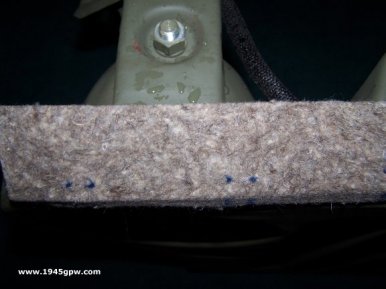
4. After each hole was created, I marked it with a felt pen. After you create the hole it is hard to find it.... so I marked the hole so I know where to place the staple when needed. |
|
5. I found that the staple holes on the grill were generally smaller than the staples (width) that come in the felt kit. With each staple before installing, I pressed the ends together (about a 1/16th of an inch.). You may want to see how yours lines up by trying to push a staple through the grill shroud first. |

|
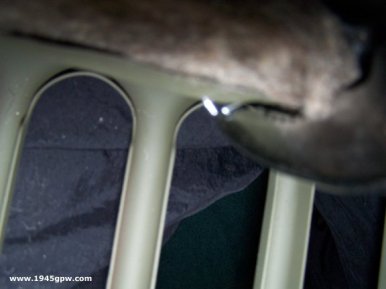
6. I pushed the staples through the holes of the felt. The felt is thick, so you have to push it as far as you can, otherwise you won’t find it on the other side. Use your needle nose pliers to line up the ends of the staples to the holes and push through. |
|
7. At this point you can use needle nose pliers or a large set of pliers to crimp the staples down. Be sure that you have the top of the pliers in the top of the staple, otherwise, the staple will push itself back out the hole (because the felt is so thick) |

|
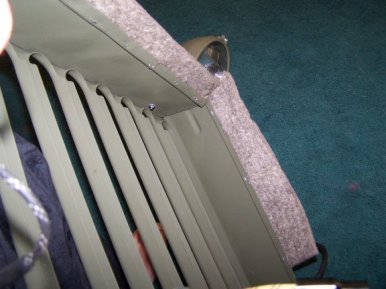
8. I stapled the ends of the complete felt piece first, then worked into the middle. This helps the felt stay in place and keeps it from buckling in between staples. Once you get a couple of them in, it starts to go pretty fast. |
|
9. I started with the top, and then moved to the sides. The top has more staples than the sides, so by the time I got to the sides I was moving along pretty quickly. |
|
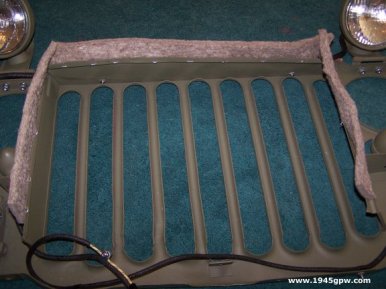
10. Completed! Took about 2 hrs, much longer than I would have thought, but that has been typical with my restore :) |
